

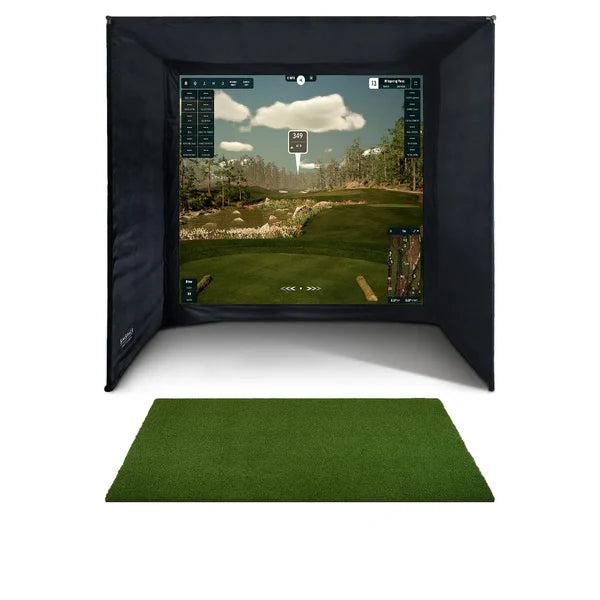
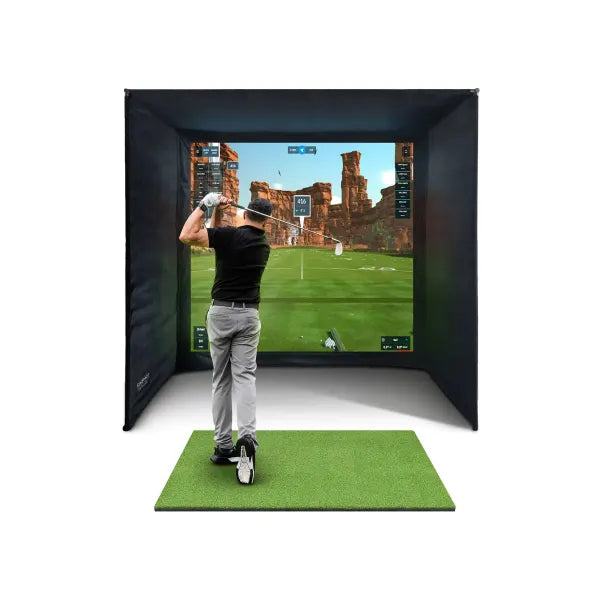
Enclosure.
Choose the right size for your space.
Screen Material.
Choose your impact screen.


Hitting Mat.
Choose the right surface for you.


Projector.
Add a projector to complete your setup.


Launch Monitor.
Track every shot with precision data.


Accessories.
Add finishing touches to your setup.

Your Simulator Build.
Review your configuration before adding to cart.
Will It Fit Your Room?
Three rules from hundreds of enclosure installs:
Go smaller, never larger
Pick the nearest enclosure size below your room dimensions. A 4m-wide enclosure will not squeeze into a 3.8m room — but a 3.6m one slides in with room to build.
Leave ~20cm of width clearance
Undersizing by about 200mm makes assembly dramatically easier and lets you position the enclosure exactly where you want it.
Check your swing height
Stand where you'd hit and swing your driver slowly. You need clearance at the top of the arc — usually around 2.7–3m of ceiling height depending on your height and swing.
Skip the tape-measure anxiety. WhatsApp us your room's length × width × height and we'll confirm the right size for you — usually within minutes.
Check my room size on WhatsAppWhat's In The Box
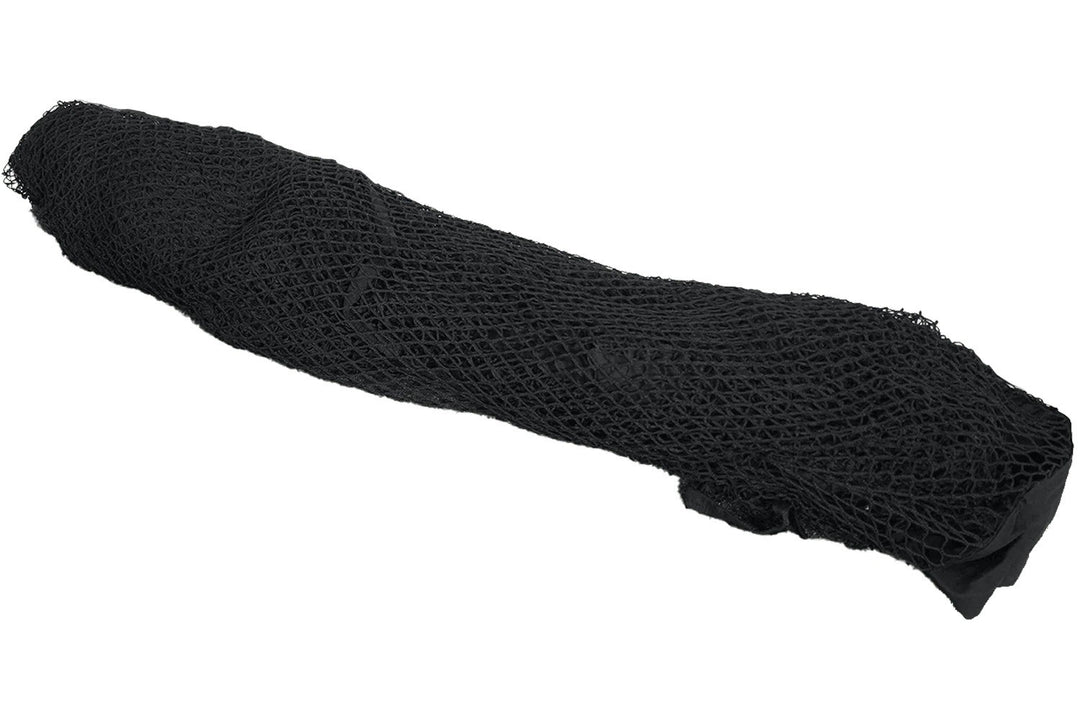
Premium black velour siding
Full side and ceiling panels that contain stray shots and block ambient light for a cinema-quality picture.
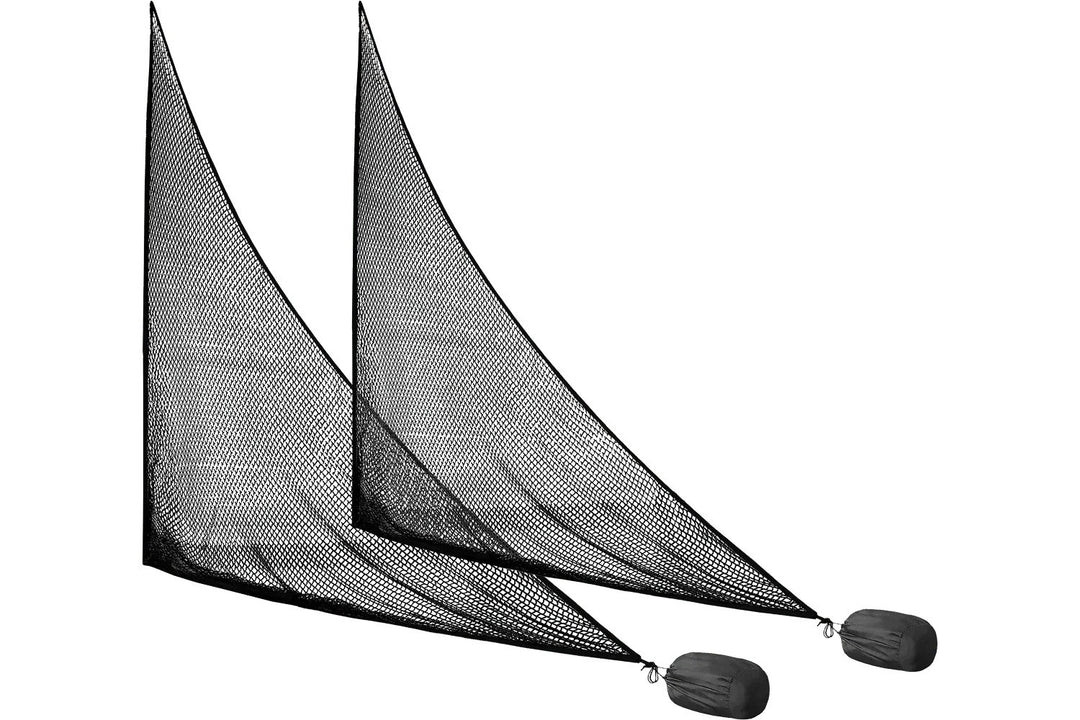
3-layer 4K Platinum impact screen
Absorbs full-speed driver shots, reduces noise and doubles as a crisp 4K projection surface.
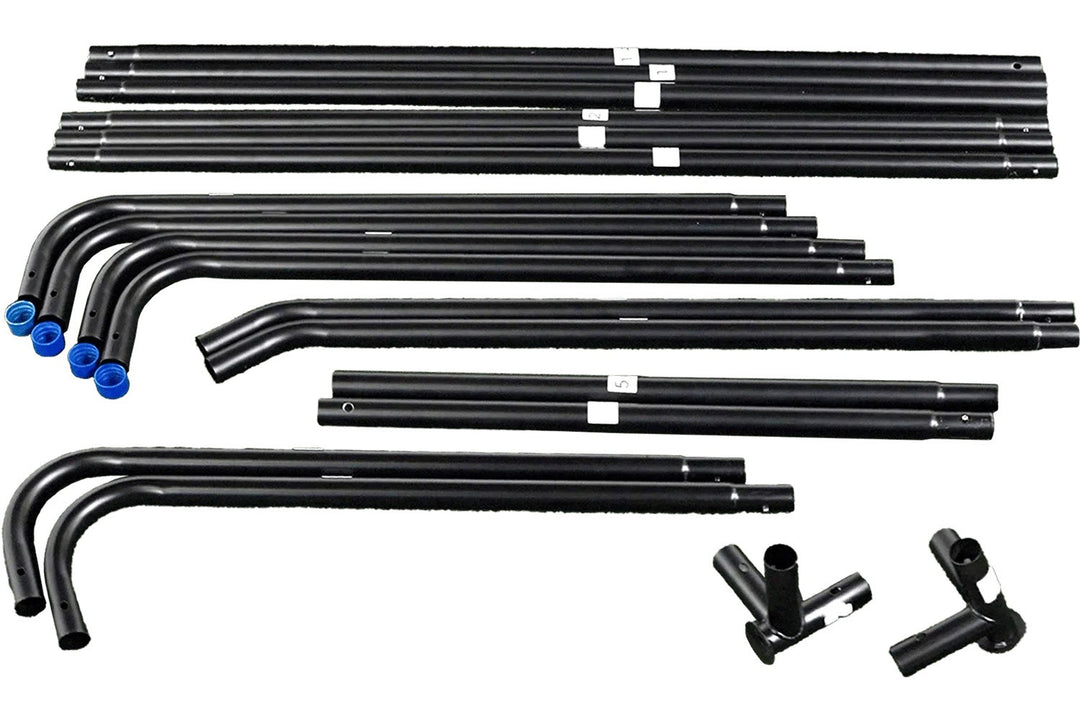
Easy-connect metal poles
Push-together frame with clips — tent-simple, no tools, up in about 45 minutes with two people.
Bungees, velcro & foam padding
Quick-fit bungee tension system with eyelets for even screen tension, plus foam pole padding throughout.